 Most people hire a professional when installing a culvert for their driveway, which, depending on the length and type of pipe required, can cost anywhere between $800 to $8,000. depending on complexity. With this in mind, you may be thinking, “why don’t I just do it myself?”
A word of caution. A project like this requires some heavy equipment and the knowledge to use it correctly. If you’re uncertain about how to operate a skid-steer loader with backhoe attachment, for example, you should probably seek out professional expertise. However, if you do plan to install or replace a culvert on your own, there are some steps you should take to make sure the process is completed successfully and safely. Here is a step-by-step guide on how to install your own culvert.
A word of caution: As a professional company in good standing with TXDOT, and the state of Texas, it's hard for us to recommend you take on a project such as installing your own culvert. We don't recommend you install your own unless you have a very high level of construction experience and even then, we would hesitate. It's dangerous and difficult, and you may just find that city and county inspectors won't respond to a homeowner in the same way they would a professional. This means that you may run into a lot more difficulty if you choose to handle the project on your own. If the job requires cement safety ends, you will have to hire someone. Remember, city and county rules change over time so the culvert you have in now may not be allowed anymore and will have to be replaced with something else. Don't install anything without making sure you know what the requirements are or you can be subject to fines or a forced removal of the driveway. Installing a culvert yourself does present a safety and financial risk. If you're in North Texas, ask us for a Free Estimate or Contact Us for more information. See Who is Responsible for Culvert Maintenance in Texas for more information. When installing a pipe culvert for your driveway, private road, or other drainage needs, there are many materials available. Which material you choose can have a big impact on the culvert's longevity, so it helps to familiarize yourself with the main causes of pipe deterioration as well as the culvert materials most commonly used to combat them. Common causes of pipe culvert deterioration are corrosion, abrasion, and physical wear. Corrosion occurs when substances with non-neutral pH balances come into contact with metals, usually through soil or water contamination. When this happens, a chemical reaction causes metal pipes to rust, weakening the culvert. Metal culverts, in particular, are vulnerable to corrosion. 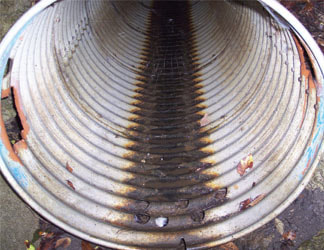 Abrasion occurs when materials brought into the culvert by water, such as sand and small rocks, scrape against the pipe wall and damage it over time. The recurring bearing of heavy loads and other physical wear and tear can also damage pipes. If the material used to build the culvert has not been correctly installed or is not strong enough to withstand heavy loads driving over it, it may buckle or crack. Recurring temperature fluctuations (freezing and thawing) can also lead to structural damage. Certain materials will hold up to different forms of deterioration better than others. This article explains the three main materials used to build culverts—plastic, metal, and concrete—and their pros and cons in culvert construction. Aluminum and galvanized steel are popular culvert building materials. Corrugated metal is strong, reasonably affordable, and can be adapted to resist corrosion through galvanization. Still, there are some downsides to metal culverts. First of all, even when galvanized, metal corrodes and rusts over time, especially when the water or surrounding soil has a high or low pH balance. Additionally, metal pipes can be heavy, inflexible, and difficult to cut if they need to be trimmed to fit the culvert trench. Weaker metals will also buckle or warp over time, especially when the road in question supports heavy traffic. 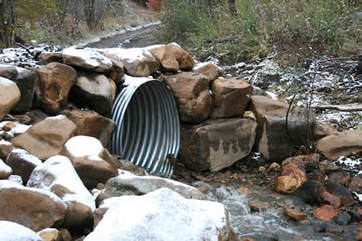 Plastic pipes are a cheaper, easier to install alternative to metal pipes. They are lightweight and flexible, allowing for easy transportation and installation. Additionally, plastic can be cut easily to fit any size of culvert trench. One downside to plastic’s lightweight nature is that erosion and the material’s natural buoyancy can cause it to become displaced over time. However, this displacement is easily avoided if the pipe is correctly bedded and the surrounding soil properly compacted during installation. Another benefit of plastic is that it does not corrode or rust like metal does and, so, can resist high and low pH balances. 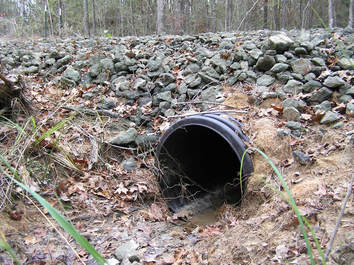 Whether you decide on metal or plastic, consider buying corrugated pipes. These pipes’ wavy pattern increases both materials’ flexibility and resistance to warping or buckling under weight. In most cases, corrugated plastic pipes will be a good fit for the job. Another type of plastic pipe, PVC, also has its uses. PVC is smaller and less flexible than corrugated plastic pipes. It is ideal for low water flow or when the water needs to be carried over great distances, as is the case in irrigation. Since clogs in long drainage pipes are more difficult to clear than short ones, PVC is also ideal when long pipes are needed because its smooth walls make it easier to clean than corrugated pipes. 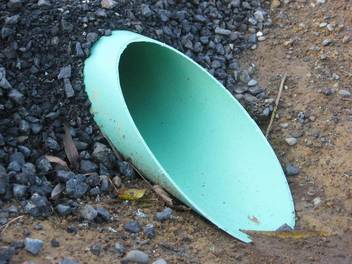 Concrete is far more expensive and difficult to transport, pour, and install (due to its weight) than either metal or plastic. However, it has its uses. Of the three materials, concrete is the most durable. Like plastic, it does not corrode. Additionally, concrete is resistant to warping and is able to bear heavier loads than the other two materials. Because of its durability and longevity, concrete pipe culverts are a good idea for those planning to install a concrete driveway or expect heavy traffic over the culvert. We don't see a lot of affordable full cement culverts here in Texas due primarily to the cost associated with them. 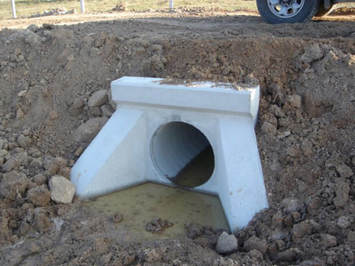 Whatever material you decide to use when building your pipe culvert, proper research is key. Whether you choose metal, plastic, or concrete, make sure that the material fits your needs by consulting a trained professional. Additionally, hire a quality team to make sure the culvert is properly installed. A well-built culvert will be more effective in managing water flow and save you money in the long run by reducing maintenance costs.
|
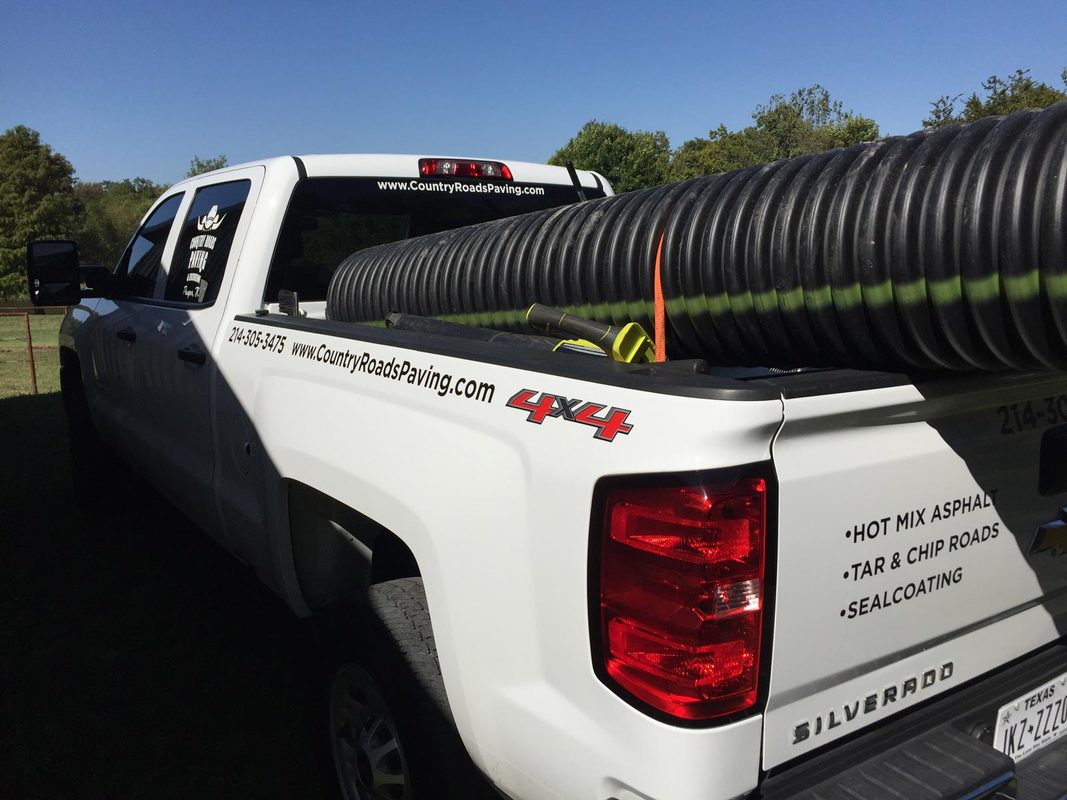
Country RoadsRural drives and private roads are our passion. We post recent jobs, paving techniques, and tips and tricks here. Enjoy! Archives
January 2023
Categories
All
|
 RSS Feed
